Tuesday, May 27, 2014

Little Forest

I don't have many knick-knacks--I hate clutter, and I dislike dusting and try to avoid it (yet I'm a clean-freak. I know, the irony). I prefer things to be both beautiful and functional. But sometimes I like to make pretty, whimsical things whose only purpose is to make me happy, like this garland of bright tiny trees. 
I love trees, and tree motifs.
 I'd seen some tree garlands on Pinterest, and wanted to make my own. They're just little triangles of  scraps, a bit of stuffing, and some twill tape (or ribbon) for the trunks, then hand-sewn onto hemp twine. To keep the ends of the twine from fraying, I sandwiched each end between tiny squares of fabric with a little fusible interfacing to help it stick together, and machine-stitched around the edges.
They hang across the doorway to the attic room, and make me smile every time I see them. The little trees are so pretty and cheerful when they're lit up by the afternoon light coming down from the top of the stairs.
Here's the tree garland I made for Christmas. They're their brightest in the winter morning light.
If you'd like to make your own, Svetlana has a nice tutorial here.

Go make something that makes you smile!

Wednesday, May 14, 2014

Did Someone Say Fabric Shopping?

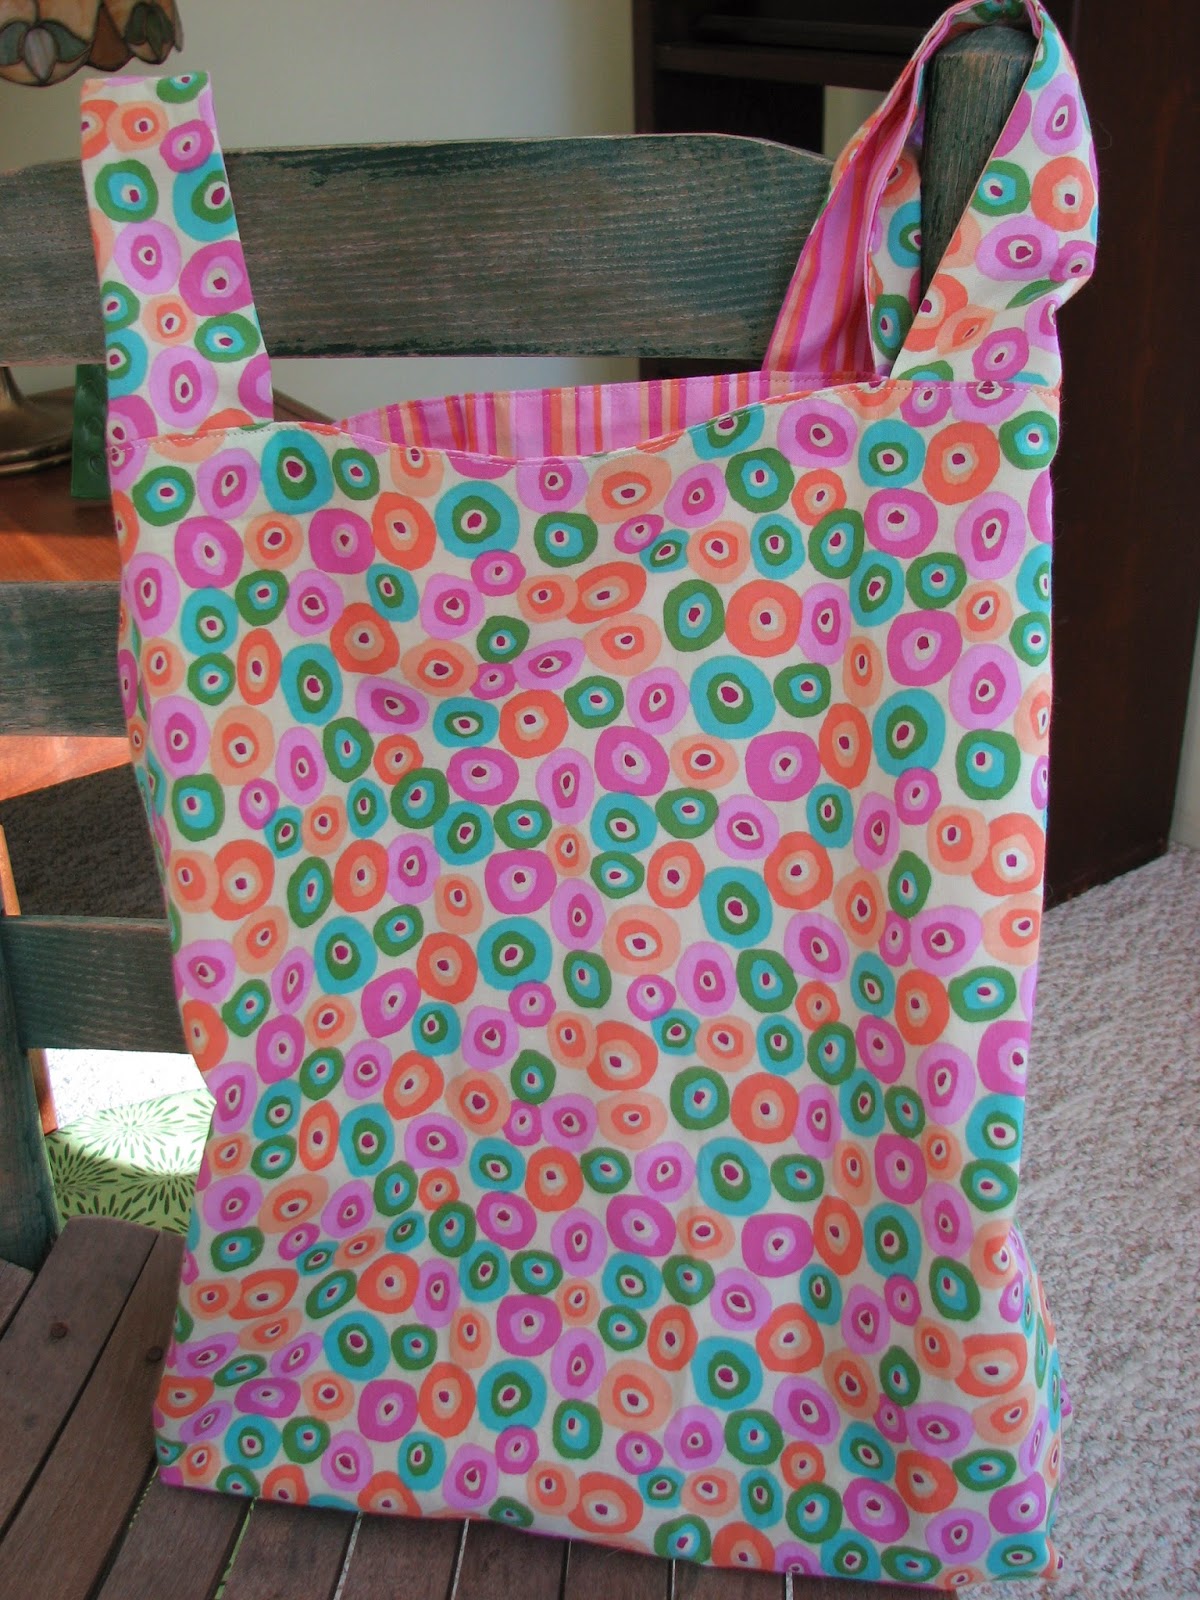
Tote bags were some of the first things I ever designed. They're fast and fun to make, so useful and have so many creative possibilities. I used this tutorial for the basic technique; from there I've gone on to design purses, cases and pouches of all sorts and styles. My latest is this simple shopping bag, made in bright, cheerful colors and prints.
They're made of quilting cottons and not interlined, so they're very lightweight and packable; they're not heavy-duty enough for major groceries, but great for shopping at gift-shops, craft shows, etc...and perfect to take to fabric stores (they've been put to that test already, of course ;).
I designed it based on my tote bag measurements. I just shortened and widened the handles, sewed them on to the far sides of the bag, and sewed them in half at the top, to make them easier to hold onto. The bottoms are boxed, so the bags hold a lot.
I seem to be really into this red and bright-blue combo lately.
The brighter and wilder they are, the more fun they are! The first two are for me; the next two I made for my mom.

I hope you're having a good week!

Friday, May 2, 2014

Wild Cherry Quilt

Well, if any quilt can brighten up a cold, gray day, I guess this little one can. I love all the delicious shades of cherry, and the yellows and greens give it zing. You can read about how they all came together here.  Pardon the quality of the photos, hastily taken as I shivered in the wind and rain.

I like all its wonderful quilty texture.
 I was hoping to get this one finished sooner, but life happens--you know how it goes. And I always sew and hand quilt so much faster in my head. I'm sure you know how that goes, too. Truth is, I'm not good at sitting still for long. I can sit and hand quilt for an hour or so before I go stir-crazy. Some bloggers write how they hand-sewed the binding of their bed-sized quilt in one sitting while watching a season of 'Law and Order' or something...I wish I could do that, but I get way too squirrelly. So, I'm slow. But that's okay, it's not a race.
Speaking of binding, I take a shortcut: I trim the backing fabric so I can wrap it around to the front and use it as the binding. I've done this since my first quilt. I came up with it on my own, but a while ago I discovered this tutorial, which is very helpful for mitering the corners. I have bound two mini quilts the typical way (including hand-sewing the binding on the back), just to learn it and try it, but it made me so antsy to be done already...and antsy is not how I want to feel while making a quilt. I choose the backing fabric based on the binding I want, or I piece the back to give me the binding I want. I like my binding to be a little wider than standard, so I trim my backing fabric 1 1/2" wider than the quilt top (for this wall quilt, I trimmed to 1"), fold it over twice like in the tutorial, then machine-sew it from the front. I'm always pleased with how it turns out. Who says you have to make things the "right" way.
The backing, with all its colorful stitches.

It measures 34"x 37"

This is my first wall quilt; I've already started another one that I'll show you soon, and I keep thinking of ideas for more. I've long wanted to make one of Amanda Jean's ticker tape quilts (I've been saving my tiniest of scraps), and I really want to make one with Rossie's pebbles.  I like the thought of being able to change my wall art with the seasons or as the mood strikes me. So stay tuned ;)

Linked to Crazy Mom Quilts for Finish it up Friday