Showing posts with label Sewing. Show all posts

Wednesday, December 24, 2014

Merry and Bright

I have some Christmas sewing I'd like to share with you!
I made a Christmas 'stamps' mini quilt. These little fabric stamps are sweet as can be, and very easy to make--you just need some scraps, plain white fabric and a bit of fusible web. The tutorial by nanaCompany is here.
Rather than quilt the whole thing in an all-over design, I used the stitching around the image and the white pinked edge as my quilting. The two rows of stitches around all the stamps hold the layers together just fine. It lets the stamp images stand out more...and truth is, I just couldn't bear to sew through Santa's cute little face :)
It didn't turn out too badly for a first try. I'd like to do another, with pretty feedsack fabrics, to have out all year.

I pulled out all my happy red and green and Christmas-y scraps and pieced a pair of pillow covers for the couch. They're hand-quilted with red embroidery floss, and have a simple envelope-style back, in solid red.
 They're so bright and cheerful!
 More cute retro Santas.
And some more sweet little cottages (like these I made for fall; a link to the free tutorial is in that post).
"'Twas the night before Christmas, when all through the house..."
"The children were nestled all snug in their beds..."
"Happy Christmas to all, and to all a good night."
I so enjoy Christmas sewing, but I'm done...and ready to move on to some quilts!

And now if I may, a couple cute holiday kitty photos:
This one from two years ago shows the typical Christmas shenanigans around here. All those ribbons and bows were in the bag when I left the room.
You better not pout, Gracie...

Thank you, friends, for reading and for leaving your comments, I have appreciated each and every one! I wish you all a very Merry and Blessed Christmas, Happy Holidays, and a 
happy and healthy New Year!

Lynn

Linked up to Finish it up Friday

Thursday, November 27, 2014

Harvest Home

Happy Thanksgiving, friends!
The little houses are made from this tutorial. Since I intended for them to sit on a shelf, I made them bigger and without a hanger. All the prints and colors make them a bit busy, but I had so many pretty fall fabrics, I didn't want to leave any out. Besides, I wanted them to be bright and cheerful for this often gloomy time of year.
The tutorial for the set of pumpkins is here. For the leaves, I used pieces of a thrifted ladies wool jacket that I bought at Goodwill and dyed green. Dying (I used RIT) can be such a crapshoot, but that green on cream-colored wool turned out so nice. I have gotten A LOT of mileage out of that one blazer!
Reflect on all you have to be grateful for, share your blessings, and have a wonderful Thanksgiving!

Lynn

Linked up to Finish It Up Friday.

Friday, November 14, 2014

Counting Cards

Twenty-two, to be exact. I like their random scraps, fraying edges and crazy 'quilting'.
(Not all are shown above, some had already gone to good homes.)
I sewed the scraps to thin white cardstock, trimmed the piece, then glued it to heavy textured cardstock.
If you want to make some of your own, you can find specifics in the book Denyse Schmidt Quilts.
 Many of them were made with certain recipients in mind.
Making these was a lot of fun, and as you can see, it was hard to know when to stop! I'm set for cards for a long time...but that doesn't mean I won't be tempted to make more soon. Christmas is coming ;)

Thanks for reading, friends!

Lynn

Linked up with Finish It Up Friday.

Friday, October 17, 2014

Haunted Houses

But haunted only by friendly, slightly mischievous spirits, of course.
I first saw cute little houses like this in the book Scandinavian Stitches by Kajsa Wikman. She makes such sweet, colorful, charming things (her blog is here).  I fiddled around with the design a bit--sizes, details--and made one just right for me. I love those little windows and rounded doors, button doorknobs and crooked chimneys.
I made some little houses last year for Christmas decorations, to keep and give away...but really, how could I resist making some for Halloween? And how could I not make a small neighborhood??
Applique'ing the windows and doors is so much fun, and so is picking out combinations of fabrics for each house---the wilder, the better. I like to make them with a high contrast of colors and fabrics, so they stand out and look more whimsical.

You never know what you might find in your neighbor's woodpile...

(Linked up with Crazy Mom Quilts for Finish It Up Friday)

Friday, October 3, 2014

Took You Long Enough

After a little more than a year (!?), my Zephyr quilt top is finished! That's okay that it took so long, I was in no hurry. These improv-style log cabin blocks are so much fun to sew, but can be a little time consuming. They may look totally random, but I give a bit of thought to what fabric I'll add next; I like to have a good balance of patterns and colors. So I'd make a few here and there in between other projects, when I just wanted to play.
I'd originally planned to make smaller scrap blocks, shown above, and surround each with yellow, green and blue solids...but at some point I decided to go full-on scrappy. Sometimes when you're adding 'walls' to your improv log cabins, you just don't want to stop ;)
This was my work area (a.k.a. kitchen table). I was surrounded by lots and lots of (mostly) freehand-cut strips and scraps. And see that little ironing board? Handiest thing I've ever made! It's a wooden tv tray, padded and covered to make a portable ironing board (click here for the tutorial). For any kind of block that needs to be pressed after every seam...I just turn around and there it is.

It's taken so long (I even had a sewing machine upgrade in the meantime), but all those strips and scraps have turned into this queen-size quilt top:
Each finished block measured 12 1/2" x 12 1/2", 56 blocks with a scrap border. It's busy, but the palette is limited, so that keeps it from being too crazy. I wish I had taken a full picture of it, but it's turned way too gray and rainy here, so I'll show you the whole thing when it's all quilted and bound.

Along the way, I had a few roadblocks:
She's like a sweet, loving Godzilla, laying waste to my work area.
The destruction. There's one of the poor blocks, jammed up against my sewing machine.
Or I find someone taking a bath on it. Clearly she was as excited about the top being finished as I was. Normally these kinds of antics are not tolerated, but they're smart enough to know 1. Get into position quickly and 2. Look as adorable as possible.
Sometimes I just sigh and get the camera.

I'm going to machine quilt it. It'll be only the second quilt I'll have machine quilted, and the first full-size quilt...wish me luck! Now let's hope it doesn't take another year :/

Have a happy weekend!

Linked up with Crazy Mom Quilts for Finish It Up Friday

Thursday, July 17, 2014

All the Small Things

Do I ever make just one--or even two--of something? Rarely.
Do I need more pouches, purses or bags in my life? Nooooo.
Am I the least bit bothered by either of these facts? Pffft. Never.
When I saw Svetlana's little zip-front coin pouches (tutorial here), I couldn't resist sewing up a few. Putting together matching fabrics and zippers or trims for little things like this is so fun, who can stop at just one? Clearly, not me.
They measure 3" x 4", perfect to hold all sorts of little things in your purse, in an overnight bag, or add a clasp or little carabiner and hang from your belt loop if you're 'traveling light'.
 To be honest, I found these rather fiddly to make. Easy enough, but fiddly--a lot of basting involved, and some blind stitching at the end. Sewing pouches with the zipper at the top is much simpler and quicker. And I haven't used these yet, so I don't know if I'll find them handier than ones with a top zip. The zipper in front does make them awfully cute, though; it's another pretty design element. (With the zip on top, you could sew a contrasting band or ribbon across the front and get the same effect. I'll file that idea away for future reference ;)

If you've sewn pouches and have any opinions about zipper placement, I'd like to hear them. And tell me I'm not the only one who can't resist multiples of everything!

Have a great weekend!

Linked up to Crazy Mom Quilts for Finish It Up Friday

Tuesday, May 27, 2014

Little Forest

I don't have many knick-knacks--I hate clutter, and I dislike dusting and try to avoid it (yet I'm a clean-freak. I know, the irony). I prefer things to be both beautiful and functional. But sometimes I like to make pretty, whimsical things whose only purpose is to make me happy, like this garland of bright tiny trees. 
I love trees, and tree motifs.
 I'd seen some tree garlands on Pinterest, and wanted to make my own. They're just little triangles of  scraps, a bit of stuffing, and some twill tape (or ribbon) for the trunks, then hand-sewn onto hemp twine. To keep the ends of the twine from fraying, I sandwiched each end between tiny squares of fabric with a little fusible interfacing to help it stick together, and machine-stitched around the edges.
They hang across the doorway to the attic room, and make me smile every time I see them. The little trees are so pretty and cheerful when they're lit up by the afternoon light coming down from the top of the stairs.
Here's the tree garland I made for Christmas. They're their brightest in the winter morning light.
If you'd like to make your own, Svetlana has a nice tutorial here.

Go make something that makes you smile!

Wednesday, May 14, 2014

Did Someone Say Fabric Shopping?

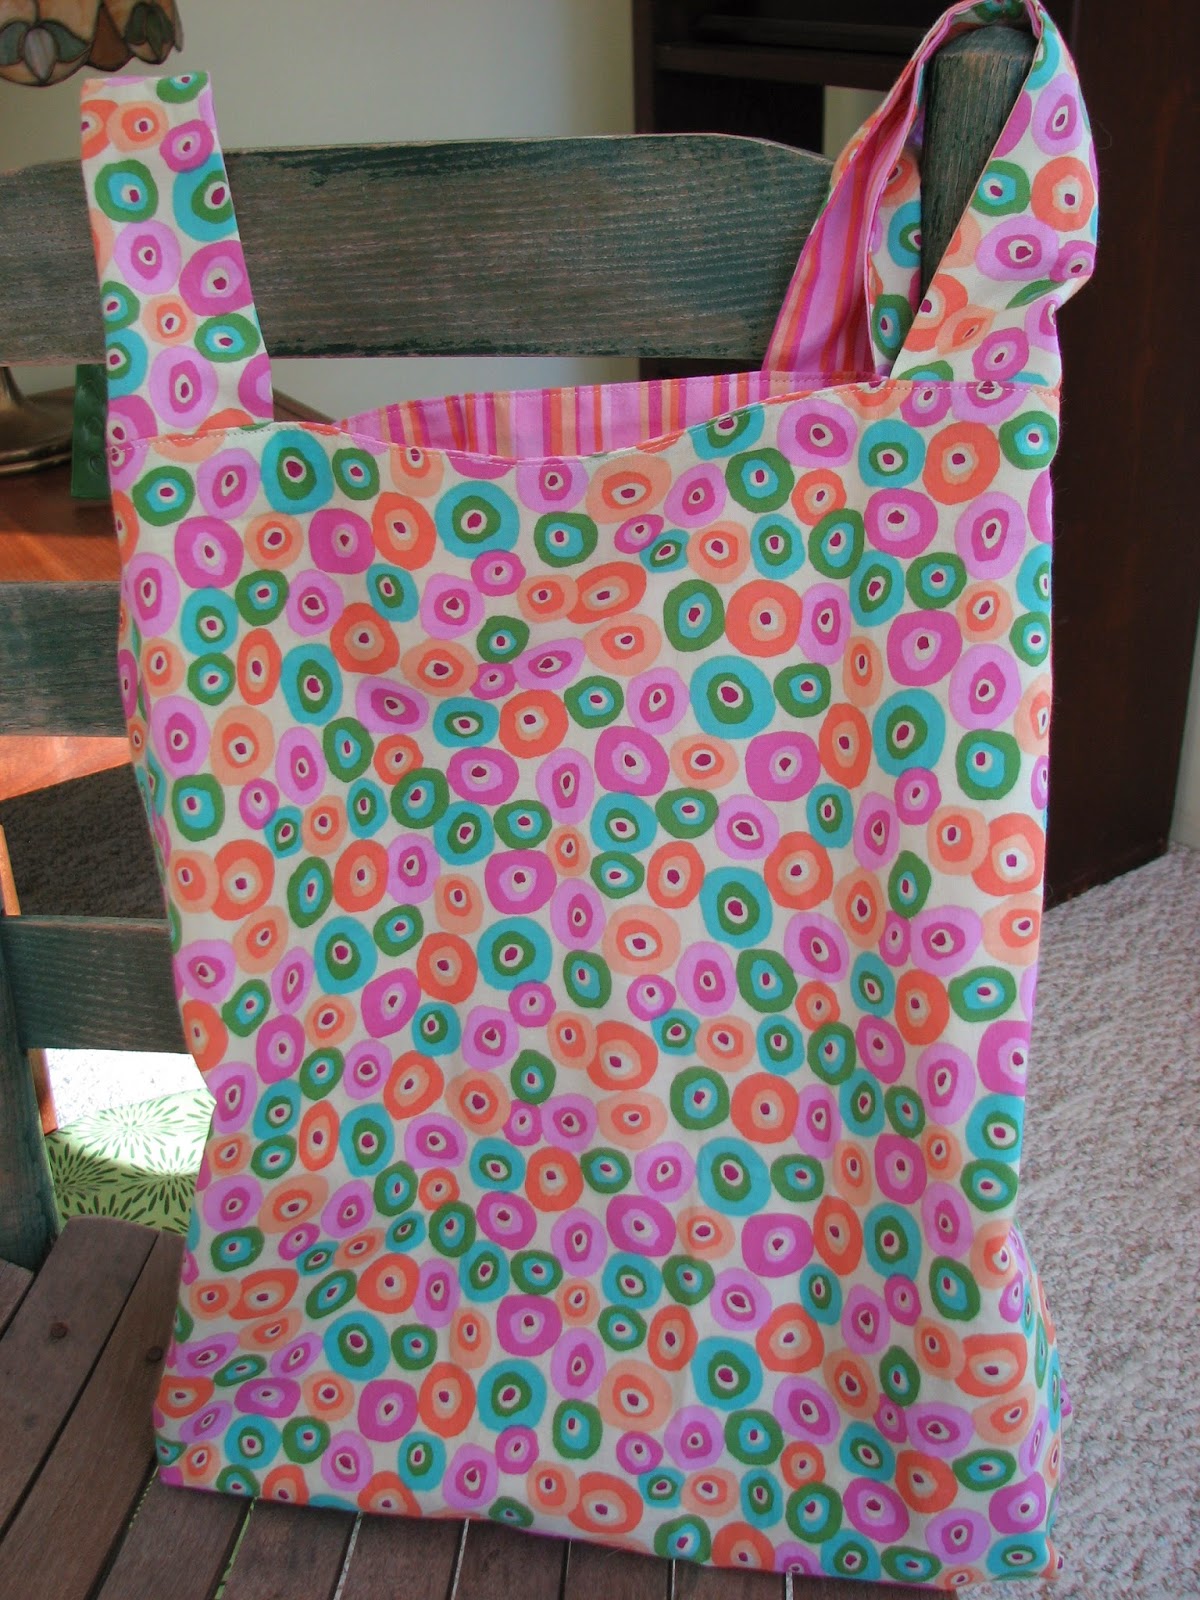
Tote bags were some of the first things I ever designed. They're fast and fun to make, so useful and have so many creative possibilities. I used this tutorial for the basic technique; from there I've gone on to design purses, cases and pouches of all sorts and styles. My latest is this simple shopping bag, made in bright, cheerful colors and prints.
They're made of quilting cottons and not interlined, so they're very lightweight and packable; they're not heavy-duty enough for major groceries, but great for shopping at gift-shops, craft shows, etc...and perfect to take to fabric stores (they've been put to that test already, of course ;).
I designed it based on my tote bag measurements. I just shortened and widened the handles, sewed them on to the far sides of the bag, and sewed them in half at the top, to make them easier to hold onto. The bottoms are boxed, so the bags hold a lot.
I seem to be really into this red and bright-blue combo lately.
The brighter and wilder they are, the more fun they are! The first two are for me; the next two I made for my mom.

I hope you're having a good week!